Tag: strategy

MEEEEEEDDDIIIIIIIIC!

I was playing scout the other day on Gravel Pit and ran into my biggest annoyance in Team Fortress 2: terribad medics. In this particular situation, the douche medic was practically glued to a heavy he was chasing around. My team and I frantically called for his help numerous times but he refused to spread the joy. During one part of the match I even ran circles around him, calling medic, lit with 8 health, only to be picked off by some random guy on the other team. Now I understand that scouts seem notoriously bad at getting heals in most servers, simply because we’re generally considered expendable fodder, but seriously? When I’m standing right in front of him, yelling for help, he should realize, “ok, I can stop for a couple seconds to bring him to enough health to stand a chance at getting away and finding a med pack.” Even that would be acceptable.

I also frequently witness bad medics ubering/kritzing only a single target in an attempt to maximize damage and success, at the expense of other team mates. This on the outside might seem like a valid strategy, but it’s really not. One of the best advantages of an uber or kritz is its power to push the other team back. So let’s actually take a minute and discuss that. Ubers and kritz have a few goals once popped. First, you can plan it out well by finding a good demo or soldier and laying waste to an unsuspecting team. This is probably the best thing you can do in the most ideal situations. If that’s not an option, you can use them to hold or gain ground. This is great because it not only buys time for respawning team mates, but if you can gain ground, you force them to come to you, thus gaining a tactical advantage. If neither of those are options, simply popping it to scare the other team and buy time, when they’ve made a push, can turn out well (assuming your team mates aren’t a bunch of ass-hats). All valid options, all better than randomly popping it on a single target with no communication.

I’d also like to note that popping an uber or kritz to save your life isn’t a waste! I’ve seen medics on numerous occasions die with one just because they thought they might get away from the scout with a clan tag. Yeah right, after the first close-quarter shot, you better pop it because if he’s good the next will kill you (and it’s not worth the risk). By the time you’d respawn and run your ass all the way back, you’ll probably have worked up, or almost worked up, a new one.

Next, if you don’t know, there is a proper heal order when fighting ensues. This mostly applies to competitive play, but it’s not bad to know it just in case. The first is lit (aka substantially hurt) friendlies that are taking fire. If you see them, drop your current target and hit them up (as long as it doesn’t unnecessarily endanger your life). Once those players are covered, anyone else lit and not taking fire is priority. The team needs strong soldiers to fight their battles, so having a bunch of hurt players is worse than having one all buffed up. Remember, numbers wins battles. Finally once no one around you is lit, then begin spreading out the heals until everyone’s buffed. But wait there’s more! The heal order gets even more complicated because once no one’s lit, there are still priorities. The demo, soldiers, and heavies should get healed to full. Then buff up the scouts if they’re around, if not buff up the heavy classes so they can move forward. If you have a pocket soldier, hit him up next. Now the team should be looking pretty good. Finally try and touch up the spies, pyros, snipers, and whoever else is yelling for help. If you can learn this heal order and variations on it, you’ll be leagues ahead of most medics and soon to be topping score boards all over the world.

Finally, I just wanted to mention some random notes. First, don’t underestimate the power of weapons. Shotguns and melee might seem harmless most of the time, but they can really lay people out. If you’re following around a heavy class and they’re looking around confused or acting weird, get a new battle buddy. That’s probably one of those that won’t realize a scout has been jumping around batting you to death for the last couple minutes. Speaking of scouts, don’t dismiss the scatter guns potential for destruction. Kritzing a good scout can get a surprising amount of kills and may be a better choice than that soldier who just fell of a bridge and got lost trying to find his way back. Lastly, there is something called a multi-uber and it can be super pwnage. Remember when I said numbers wins battles? Well, if your micro is good enough, you can click quickly between friendlies to spread the uber love and ensure immunity for a number of them. This can be great for getting small groups past a sentry, securing a point, navigating a bottleneck, etc. Just note that it’s not always easy and it does NOT work for kritz. Although if you’re trying to get past a sentry or navigate a dangerous bottle neck with a kritz…god help us.

So there, a couple solid notes on medic that should be sufficient enough to get you on the right track. It’s an invaluable class that needs better players, so learn it, play it, and pwn with it. GLHF.

(For those interested in competitive notes on medic check out this great guide on ubercharged.net)

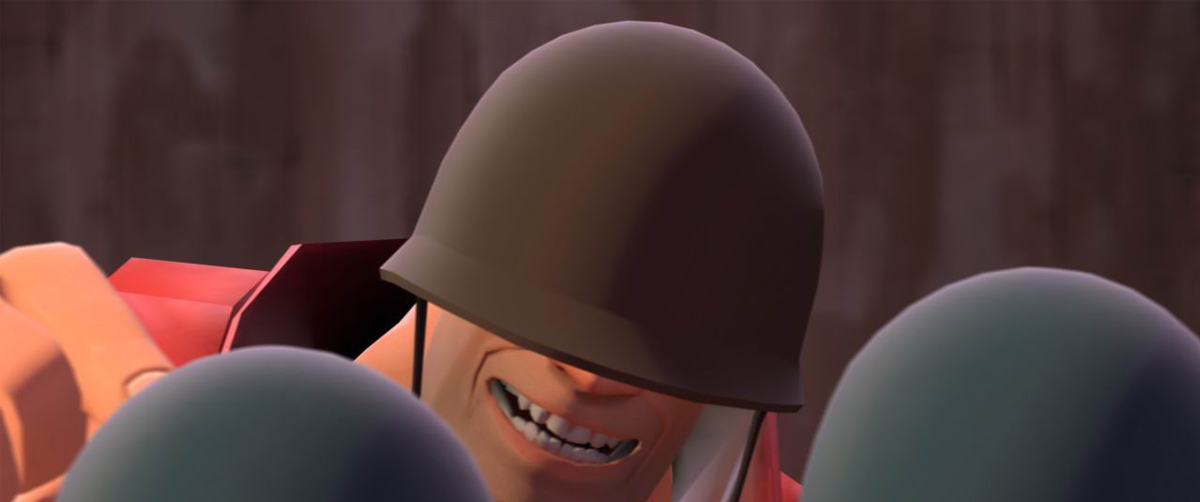
Team Fortress 2 Class Strategy – Soldier

Soldiers are a simple and moderately effective class that best fits new players and those offering defensive or offensive backup. I recommend new players using the soldier because it will give them a chance to explore the maps while offering the most help to the rest of the team.

The soldier’s main weapon is a 4 round rocket launcher that can serve two effective measures. First is to simply add to the barrage of fire from other classes in either an offensive or defensive maneuver or to rocket jump. Rocket jumping is the act of jumping and firing a rocket at your feet. This propels your character to normally unattainable heights and can be used to gain the advantage over the other team. The secondary weapon is a standard shotgun that many other classes possess. It deals moderate damage and can be useful when targets get too close. The shovel serves as the soldier’s melee weapon and is comparable to most other melee weapons.

Soldier health and speed also come into play when determining class selection. The soldier’s health is much higher than most but they sacrifice a lot of speed making them a deadly choice for snipers and spies. I would recommend sticking close to the pack to help deal out the DPS in offensive strikes. I would also like to note that while soldiers can hit fairly hard the low round capacity can severely hinder their performance on the field. Soldiers should also note that while they can take a beating, turrets are still deadly and can’t be faced head on (but you’re in luck because soldiers usually have enough time to flee the LOS).

So where do Soldiers belong in team strategies? Pretty much anywhere! Soldiers can be very helpful both defending and attacking and have some crowd controlling abilities when using the splash damage from rockets. They also can be useful for pinning down enemy sniper positions, aiding in the destruction of turrets and other engineer buildings and pushing back uber charges.

I recommend having a soldier per 5-7 players.

Tip 1: While soldiers seem like an obvious class to uber, doing so is rather ineffective. Medics should avoid ubering soldiers unless absolutely necessary due to the fact soldiers can only carry 4 rounds at a time.

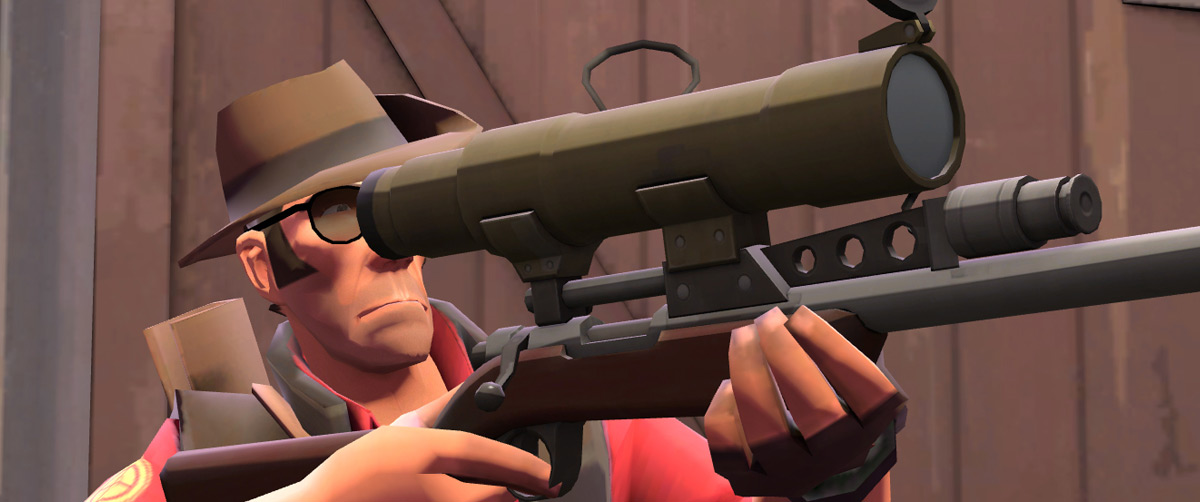
Team Fortress 2 Class Strategy – Sniper

The sniper is a fairly simple class to pick up but to master requires quick reflexes, knowledge of the map and good timing. Any veteran sniper knows that it’s not about how many people you hit, but who you hit.

The snipers main weapon is the sniper rifle (obviously) which deals moderate to high damage depending on how long it charges. The charge shows when you scope in and ranges from 0-100%. At 100 percent it will deal the highest amount of damage and will kill just about anyone in a single head shot. Even when not fully charged a head shot automatically has a 100% chance to crit and will most likely kill a weaker target. The snipers secondary weapon is a fully automatic “machine pistol” that deals low damage for close encounters. This leaves the machete which deals comparable damage to most other melee weapons.

While snipers are excellent tools on the field they are also very vulnerable. Turrets, heavies, demos, soldiers and pyros can easily tear down snipers if they get too close while even scouts, spies and medics will do their fair share of damage. Good snipers will need to be vigilant when targeting their enemies and must focus on whom they attack first. The first target all snipers should focus on is other snipers. This is done by picking them out and strafing back and forth, while zoomed, to get the headshot. After the target is taken out you have a choice. If there are enemies rushing your position they come first. If not, I would recommend taking out slow moving enemies like heavies and soldiers who can hit you from a distance. Medics can be another great class to take out but are fairly difficult to keep targeted. Of course any enemy that is stationary should be killed immediately regardless of class.

Tip 1: If you are sniping and can see an enemy turret being built take a shot at 100% power. If the turret is new it will destroy it. You can also take out teleporters and dispensers if engineers aren’t constantly repairing them.

Tip 2: Snipers should always keep their backs against a wall or something solid if possible. This act deters spies and other classes from getting behind them while scoped in. A good sniper also knows to check his surroundings almost constantly.

Tip 3: When using your Sniper Rifle, the laser dot that is used for aiming is also visible to the enemy. If you can hide it for example by pointing it to the side of a doorway and then quickly moving it into position when someone runs through, it will leave the enemy unaware.

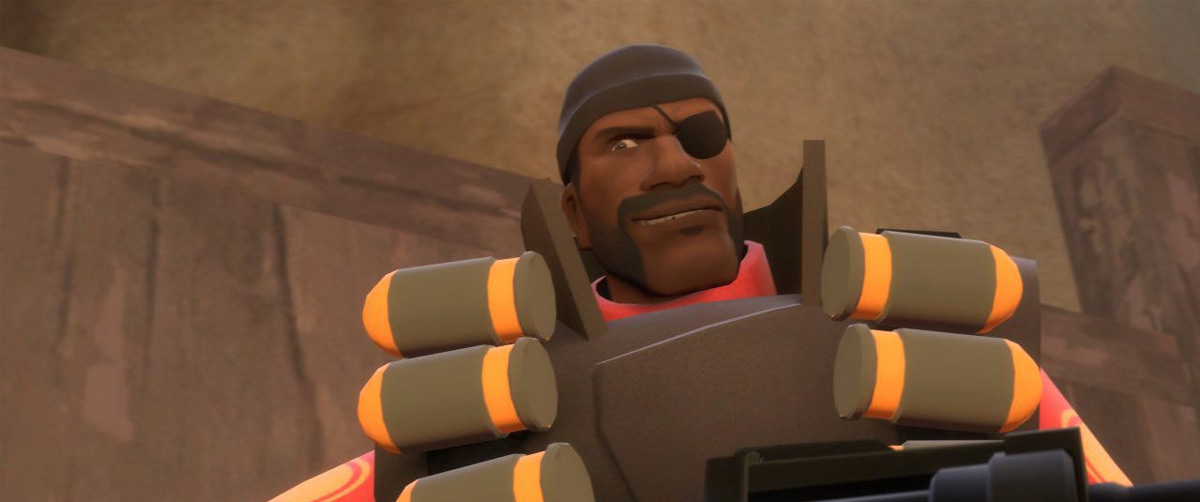
Team Fortress 2 Class Strategy – Demo

The demo is an absolutely devastating class when played well and should be considered a regular for any competitive team. They excel both in offensive strikes and defensive stakeouts and will find themselves topping most other classes. For the average player the demo will feel a little odd when first played but the sacrifice of learning them has a huge payout.

The demo’s weapons consist of two grenade launchers and a glass bottle. The first launcher holds 4 grenades that bounce of walls and is the primary tool for offensive attacks. During a defensive position this launcher should be used as a side arm to the second grenade launcher which fires sticky rounds. These sticky grenades are the demo’s ultimate weapon. They can be concealed if placed correctly and can instantly kill any enemy if more than 4 are placed. This weapon takes the most skill to master but in turn offers the most reward. The final weapon, a glass bottle, renders itself as a melee weapon and does average damage to an opponent.

Notes about the demo’s weapons: Both grenade launchers do splash damage however the first launcher is much less effective unless it takes a direct hit.

Demo health is fairly high and can withstand a short barrage of bullets before dying. Turrets should never be faced directly like any other class but demos tend to have more of a window to take fire and flee than say, a scout or medic. Heavies can also cause demos trouble and require at least 3-4 stickies to kill. Scouts, while being weak and vulnerable to the high rate of splash damage from stickies, can be a huge annoyance to demos who have little defense once someone crosses the sticky barricade. Be sure to couple your defenses with a soldier or close range combatant to help ward of scouts and breached enemies. The final class to be aware of is snipers who will target demos who plant their stickies from a stationary position.

Demo strategy is fairly simple but requires patience, timing and knowledge of the maps. Their primary objective as discussed above is defensive planting with the sticky grenade launcher. Areas like door ways, capture points, and rail cars are all great places to defend but even the corner of a hallway and a ceiling can be useful. Know where your enemies are and which ways they can come and be ready to detonate. The secondary objective demos face is offensive strikes. The best strategy for demos is to get the high ground and launch stickies into well traversed areas. If this isn’t possible, stick with the pack and use the normal grenades as backup fire until you can get into position. Remember it’s never wise to get impatient and run ahead of the group into a defenseless position. The final and sometimes most important objective a demo will have is engineer clearing. This is when a fully charged medic ubers a demo to rush turrets, dispensers and teleporters. All demos should know that by choosing this class they must be ready to take down engi-groupings whenever necessary. To successfully pull this off there are a couple rules to follow. First is don’t panic when you get ubered. Relax, make sure you’re loaded and rush out. Rule two is: ignore random enemies. It is not worth the seconds of uber time killing them as it is to wipe out turrets. The third rule is to plant stickies intelligently. If you have 8 fully loaded rounds, make sure 4 land at each turret. If you can take out two turrets your job is done, just flick to the normal grenades and die fighting or run like hell. If there is only one turret, plant 4 at the base and the rest around that area. Many players will congregate at dispensers and teleporters and it’s almost guaranteed those are near the turret. Launch your 8 and detonate (sorry for the rhyme).

I recommend 1 demo per 5 players unless there is an excess of engineers on the other team, in which more are probably needed.

Tip 1: As a demo, you should pretty much always have 8 stickies laid down somewhere or another. When entering unfamiliar territory, such as an enemy base, set some down at the entrance before advancing. This way if you encounter enemies, you have a point to fall back to. This helps to offset the fact that demos are not particularly good at close range or against moving targets such as scouts.

Tip 2: Uber Stalling – Demos can use their stickies not only to kill and defend but also to stop prevailing uber charges. By launching a couple rounds and detonating in quick succession you can juggle or blow back enemies away from your team mates and engineer buildings.

Copyright © 2025 The Spawn Room

Theme by Anders NorenUp ↑